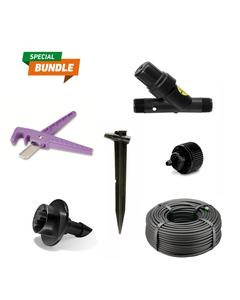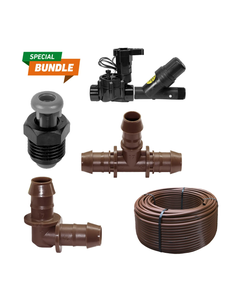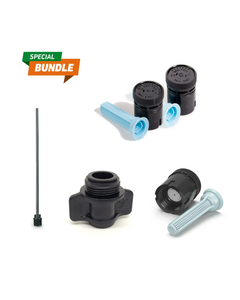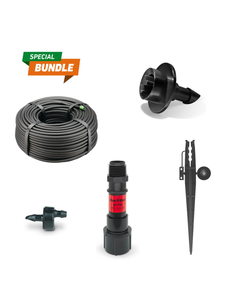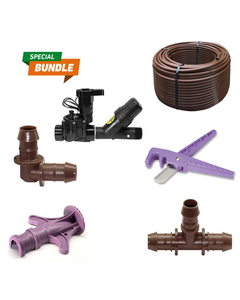


Rain Bird Flower Bed Bundles offer a range of benefits that can transform your gardening experience. With these bundles, you'll enjoy efficient watering systems tailored for optimal hydration and healthier plants. Invest in Rain Bird Flower Bed Bundles and elevate your gardening game effortlessly.
- Up to 60% water savings due to zero wind loss
- No unisghtly run off in high visibility areas
- No damage to walls, entry way or cart paths from overspray
- XF and XFCV Dripline is easy to install, resulting in labor savings
- Targeted watering helps reduce erosion of wall
- No runoff - reduced liability in high traffic areas.


TO DO LIST
- Assemble Control Zone Kit and connect to water source.
- Cut lenghts of XFD Dripline to build grid in planting area.
- Connect lenghts of XF Series dripline to Easy Fit fittings (or XFF dripline fittings) to create grid.
- Punch self-piercing barb inlet of Xeri-Bug emitters into XF Series Dripline, connect 1/4'' tubing to barb outlet and run 1/4'' tubing to larger plant.
- Stake tubing in place and attach Diffuser Bug Cap on the end.
- Flush system until clean water flows.
- Install planting material.
INSTALLATION AND MAINTENANCE TIPS
- Supplemental Xeri-Bug Emitters are placed next to larger plants with higher water requirements.
- Flush the zone upon installation and 2-4 times a year.
- Install Xeri-Bug Emitters with the Xeriman Tool (XM Tool) for 50% faster installation.
- Leave XF Series Dripline coil in the sun while preparing installation.
TIME
1 hr


TO DO LIST
- Assemble Control Zone kit and connect to water source
- Cut lenghts of XF dripline to build grid in planting area
- Connect lenghts of XF dripline to Easy Fit fittings (or XFF dripline fittings) to create a grid.
- Add 1/2'' Air Relief Valve kit to the zone.
- Connect Easy Fit Adaptor to Easy Fit Tee for connection to Control Zone Kit.
- Stake XF dripline grid in place and flush until clean water flows.
- Install planting material.
INSTALLATION AND MAINTENANCE TIPS
- Flush the zone after installation and 2-4 times per year.
- Install Air Relief Valve Kit at high point in the system.
- Leave XFV Dripline coil in the sun while preparing for installation.
TIME
1 hr


TO DO LIST
- Trench, cut and glue PVC laterals
- Connect lines to water source
- Thread in schedule 80 riser, attach PA-8S adaptor and SQ series nozzle.
- Or, thread in PRF-FRA 12'' polyflex riser into PVC tee, attach SQ ADP adapter and SQ Series Nozzles
DRIP TIP
All SQ nozzles in the same zone should be adjusted to either 2.5'' or 4'' throw. DO NOT mix throw settings in the same zone.
INSTALLATION AND MAINTENANCE TIPS
- Flush the zone after installation and 2-4 times per year.
- Adjust watering time as seasons/weather changes.
- Ensure that all SQ Series Nozzles are adjusted to the appropiate throw distance.
TIME
1hr. 20 mins.


TO DO LIST
- Assemble Control Zone Kit and connect to water source.
- Cut lenghts of XFD Dripline to build grid in planting area.
- Connect lenghts of XF Series dripline to Easy Fit fittings (or XFF dripline fittings) to create grid, add air relief valve.
- Connect Easy Fit adapter to Easy fit Tee for connection to Control Zone Kit.
- Stake XF Series dripline grid in place.
- Punch self-piercing barb inlet of Xeri-Bug emitters into XF Series Dripline, connect 1/4'' tubing to barb outlet and run 1/4'' tubing to larger plant.
- Stake tubing in place and attach Diffuser Bug Cap on the end.
- Flush system until clean water flows.
- Install planting material.
INSTALLATION AND MAINTENANCE TIPS
- Supplemental Xeri-Bug Emitters are placed next to larger plants with higher water requirements.
- Flush the zone upon installation and 2-4 times a year.
- Install Xeri-Bug Emitters with the Xeriman Tool (XM Tool) for 50% faster installation.
- Leave XF Series Dripline coil in the sun while preparing installation.
TIME (Approx.)
1 hr


TO DO LIST
- Assemble Control Zone Kit and connect to water source.
- Cut lenghts of XFCV dripline to build grid in crib wall.
- Connect lenghts of XF Series dripline to Easy Fit Fittings (or XFF dripline fittings) to create grid. Connect to Control Zone Kit.
- Stake XF Series Dripline grid in place and flush until clean water flows.
- Install planting material.
INSTALLATION AND MAINTENANCE TIPS
- Flush the zone upon installation and 2-4 times per year.
- Leave XFCV Dripline coil in the sun while preparing for installation.
- Break up watering cycles to avoid run off or pooling of water in blocks.
TIME (Approx.)
1 hr

